Moms are jugglers by trade. I've been juggling for weeks now. Blogs just have to fall by the wayside when life gets crazy.
make lunches. . vacuum. . run the carpool . . throw in a load of laundry . . help with a scouting goal. . . start a school science project. . . change a diaper. . . think about dinner. . . shower and change. . . text a friend. . . play memory (and LOSE). . . take a few pictures. . . teach 3 piano lessons. . . break up a fight. . . listen to 15 minutes of reading. . . update the star chart. . . actually start fixing dinner. . . start a blog post. . . finish that load of laundry. . . scrub markers off of the 2 year old. . . clean the bathroom. . . kiss the baby. . . clean the living room. . . clean the kitchen. . . clean up the dinner. . . make the beds. . . make a grocery list. . . clip coupons. . chat with hubby about the day. . . organize coupons. . . and on and on and on.
I wouldn't know what to do if my day flowed with any kind of sane order.
It's all in order in my own chaotic brain.
Somewhere in the middle of this craziness. . . .
the Golfer and I have
finally started a project together. After much coaxing, and some convincing plans from Ana at
AnaWhite.com.

We priced out the beds at local furniture stores. $600-$800.00 for a twin bed with a trundle. Made of cheap composites and veneers. The floor models were trashed. That's when he caved. It may have also had something to do with the fact that this little stinker got INTO her bed all by herself. That means she'll find a way out. . . soon.

We are building the
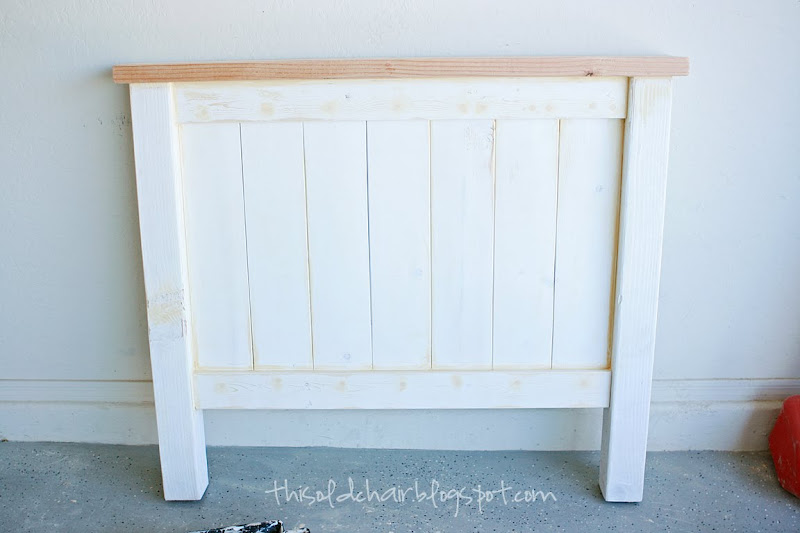
farmhouse bed with a trundle. The trundle is done. . . . it only took 2 hours to build and sand. It took me longer at the store to get all of the materials. . . all by myself. . . yup, that's right. I was nervous, but we organized before I left and when I got there. . . I actually knew what I was doing.
Now, onto the bed. I can't wait to post the finished photos.
Keep juggling. . . and smiling!



 And apparantly they suck their thumbs. . who knew?


 Even the golfer likes them. He raised his eyebrows when I originally brought them home. He thinks I'm crazy.
  and, here it is all put together in the girls' room.
 The Golfer did the building and I did the filling, sanding, priming, painting. We make a good team. I thought there would be arguing and stress. There really was none. The Golfer is already talking about building an entertainment center.
 I wanted the head and footboards the same height so that when the bed is up against the wall like this, it feels like a daybed. I can just add some pillows along the wall to give it more of a daybed feel, or we can turn it the other way and it becomes a twin bed again.
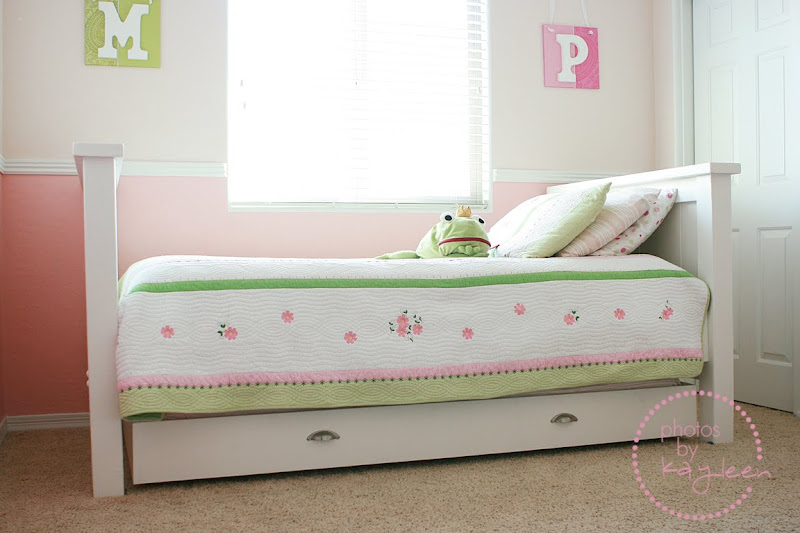 The trundle fits nice and tight so no little limbs will be smashed in the night. I think we will end up getting a twin xl for the top mattress to fill in some of the extra space on both ends of the bed.

 The girls both LOVE it! We've had no trouble transitioning from crib to big-girl bed. They're both so excited to crawl into their new beds every night.


 I made a birthday bunting for the golfer on his big day. It's made of paper and fabric. Stuff that I already had around the house. Here are some instructions on how to do it:


